
As far as Black Friday goes, some years I shop and some years I don't. Last year I shopped. My BFF and I had a game plan, hit up 5 or 6 stores and had a delicious breakfast when we were done. One of the places we hit up was Michael's. I had no idea about their doorbuster sales. Christmas ribbon for 70% off? Yes please! An extra 25% off coupon? Oh thank you! There was a wreath that I had seen in a Brides magazine made out of ribbon tied into bows around a wreath frame. So, I bought a bunch of 70% off ribbon and a small wreath frame. When I got home, it only took about an hour or so to make.
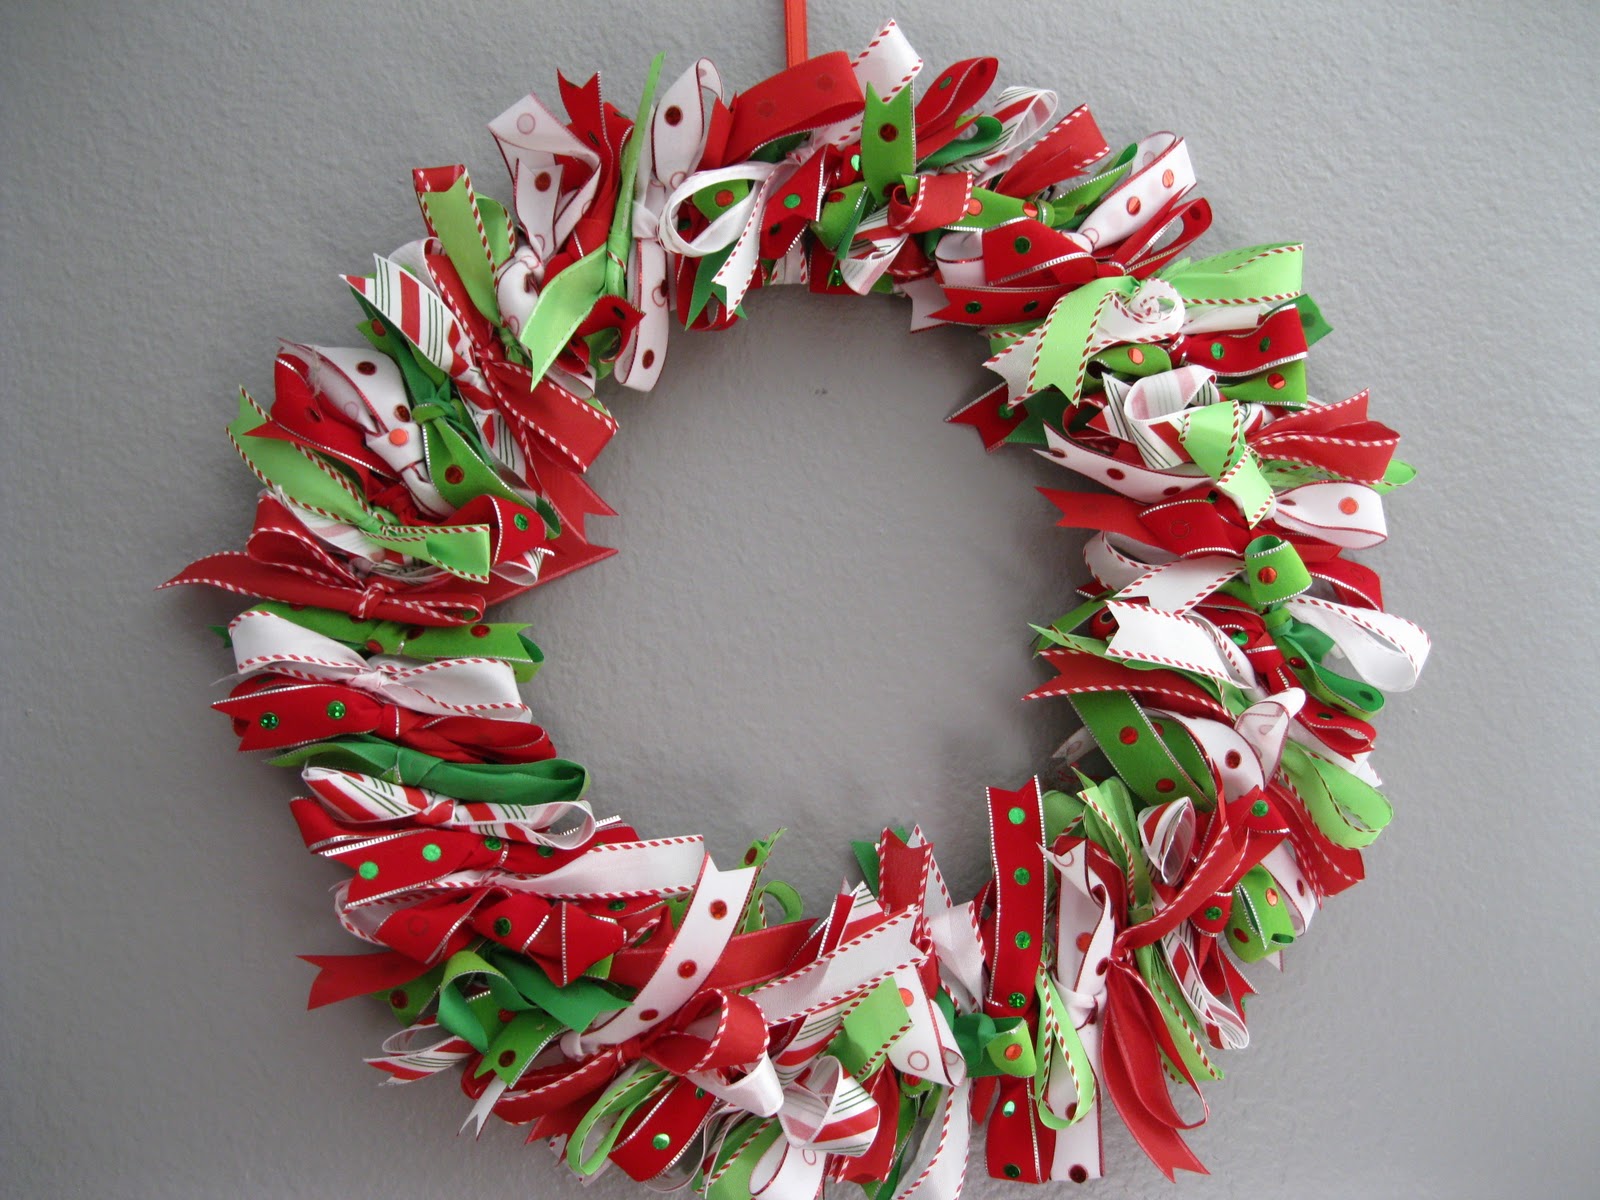 |
| Black Friday Wreath 2010 |
To make this, I started by tying one bow. Then I untied it and used it as a guide to cut the rest of the ribbon. Then I cut all the ribbon a head of time. Then I just tied bow after bow after bow. When I was done I cut the ends at an angle. Fun :)
This year for black Friday, I wasn't feeling the big shopping trip, BUT I did want to pick up some more ribbon from Michael's. I have been seeing these ornament wreaths all over Pinterest, and I knew I had to have one. So I decided to make it a tradition and make another Black Friday Wreath.
 |
| Source |
A few years ago, I bought 4 boxes of cute peppermint striped ball ornaments at Target during an after Christmas sale. Usually I just fill up a dish with them as a centerpiece, but I thought that a wreath made out of those would be perfect. All of the tutorials I have found online for these wreaths say that it takes between 50-80 ornaments to make a full wreath, so I knew I had to make a special Black Friday stop at Dollar Tree. There I picked up a few boxes of small, red balls to add to my peppermint wreath.
Materials for this project: lots of ball ornaments-I used about 65 (Choose a color combo or a theme. It also is helpful to have more than one size. They fit better that way.), hot glue gun, 1 wire hanger, ribbon, pliers, heavy duty wire cutters
 Step 1: Pull up the little silver cap and put a ring of hot glue around it. Then push the silver cap back down. Repeat on all 65 or so ornaments. This was the worst part of this wreath, and this is what took the longest.
  Step 2: Untwist the top of the wire hanger. I had to use pliers to get it to untwist. Then, bend the hanger into a round shape.
Step 3: Start adding your ornaments to the hanger, one at a time. I didn't take any pictures of this step. I just went back and forth between the peppermint balls and the smaller, plain, red ones. Once your wreath is full, carefully retwist the hanger back together.
Step 4: Here is where I differed from the tutorials that I found. Well, the tutorials didn't really cover this part. I think they used the hook part of the hanger to hang the wreath with, but covered it with ribbon.
 I could not figure out how to do that. At all. I tried to to hang it above the mantle from the hook, but the wreath was too thick, and it just didn't work. So I went out to the garage, and cut the hook off just above the twisty part.
 Step 5: Next I added a long ribbon for hanging. Then I tied a bow around that twisty part to cover it up.
 |
| Black Friday Wreath 2011 |
I couldn't stop there with my decorating. Here is a preview of my Christmas mantle that I set up today.

Do you have any Black Friday traditions?

2 comments:
So pretty!
Pretty wreath. Reminds me that I bought a bunch of ornis a few years back to make one of these wreaths but since I've not put Christmas decorations up for a few years had forgotten about this project. Now I need to figure out where I put them and get going. Thanks for sharing how you made yours.
Post a Comment